
SpringCloud 服务间互相调用 @FeignClient注解
2019-10-28 06:29:35来源:博客园 阅读 ()

SpringCloud 服务间互相调用 @FeignClient注解
SpringCloud搭建各种微服务之后,服务间通常存在相互调用的需求,SpringCloud提供了@FeignClient 注解非常优雅的解决了这个问题
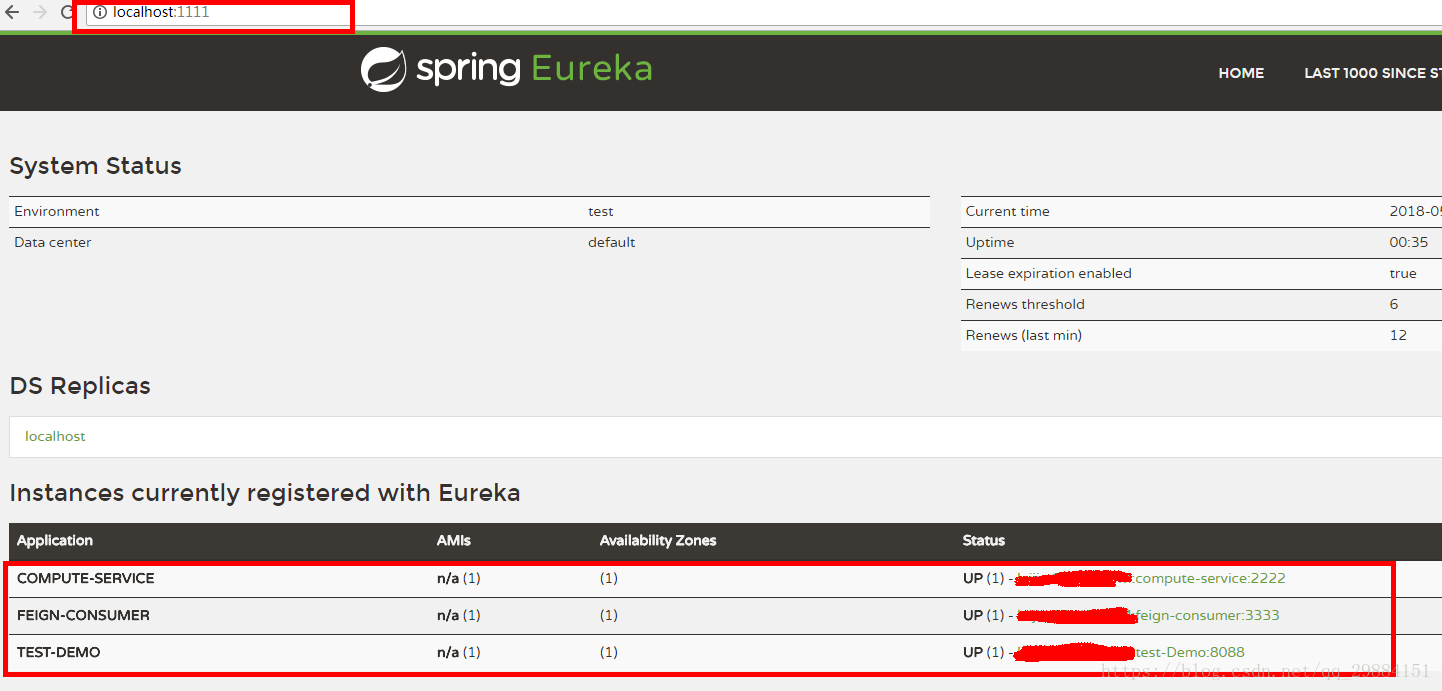
首先,保证几个服务都在一个Eureka中注册成功形成服务场。
如下,我一共有三个服务注册在服务场中。COMPUTE-SERVICE ; FEIGN-CONSUMER ; TEST-DEMO;
现在,我在FEIGN-CONSUMER 服务中调用其他两个服务的两个接口,分别为get带参和post不带参两个接口如下
这个是COMPUTE-SERVICE中的get带参方法1 @RequestMapping(value = "/add" ,method = RequestMethod.GET) 2 public Integer add(@RequestParam Integer a, @RequestParam Integer b) { 3 ServiceInstance instance = client.getLocalServiceInstance(); 4 Integer r = a + b; 5 logger.info("/add, host:" + instance.getHost() + ", service_id:" + instance.getServiceId() + ", result:" + r); 6 return r; 7 }
如果要在FEIGN-CONSUMER 服务中调用这个方法的话,需要在 FEIGN-CONSUMER 中新建一个接口类专门调用某一工程中的系列接口
1 @FeignClient("compute-service")
2 public interface ComputeClient {
3
4     @RequestMapping(method = RequestMethod.GET, value = "/add")
5     Integer add(@RequestParam(value = "a") Integer a, @RequestParam(value = "b") Integer b);
6
7 }
其中,@FeignClient注解中标识出准备调用的是当前服务场中的哪个服务,这个服务名在目标服务中的配置中取
1 spring.application.name
接下来,在@RequestMapping中设置目标接口的接口类型、接口地址等属性。然后在下面定义接口参数以及返回参数
最后,在FEIGN-CONSUMER Controller层调用方法的时候,将上面接口注入进来,就可以直接用了
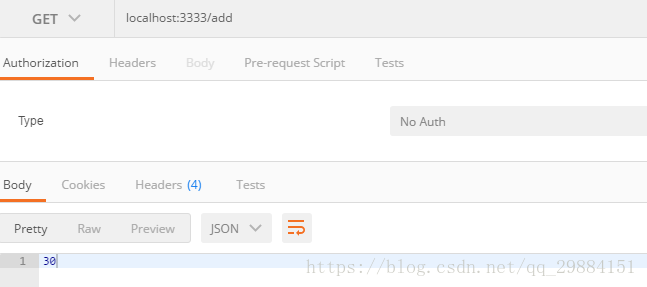
1 @Autowired
2 ComputeClient computeClient;
3
4 @RequestMapping(value = "/add", method = RequestMethod.GET)
5 public Integer add() {
6     return computeClient.add(10, 20);
7 }
当然,post方法同理:
这是目标接口:
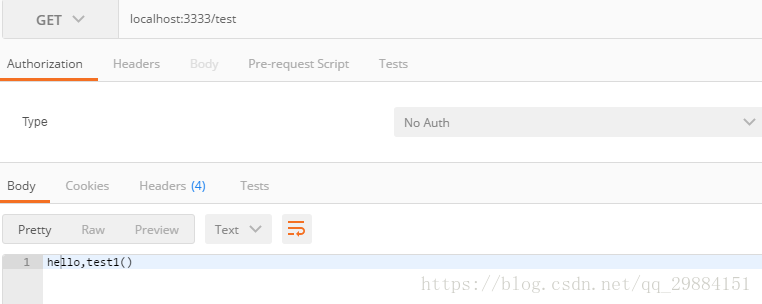
1 @RestController
2 @RequestMapping("/demo")
3 @EnableAutoConfiguration
4 public class HelloController {
5    @RequestMapping(value = "/test",method = RequestMethod.POST)
6    String test1(){
7       return "hello,test1()";
8    }
9 }
这是在本项目定义的接口文件:
1 @FeignClient("test-Demo")
2 public interface TestDemo {
3     @RequestMapping(method = RequestMethod.POST, value = "/demo/test")
4     String test();
5 }
这是项目中的Controller层:
 1 @RestController
 2 public class ConsumerController {
 3     @Autowired
 4     TestDemo testDemo;
 5
 6     @Autowired
 7     ComputeClient computeClient;
 8
 9     @RequestMapping(value = "/add", method = RequestMethod.GET)
10     public Integer add() {
11         return computeClient.add(10, 20);
12     }
13
14     @RequestMapping(value = "/test", method = RequestMethod.GET)
15     public String test() {
16         return testDemo.test();
17     }
18 }
最终调用结果如下:
OK 服务间接口调用就是这样了!
原文链接:https://www.cnblogs.com/zhaosq/p/11675639.html
如有疑问请与原作者联系
版权申明:本站文章部分自网络,如有侵权,请联系:west999com@outlook.com
特别注意:本站所有转载文章言论不代表本站观点,本站所提供的摄影照片,插画,设计作品,如需使用,请与原作者联系,版权归原作者所有

- 聊聊微服务架构及分布式事务解决方案! 2020-06-10
- java环境教程:Tomcat下载,安装,设置为Windows服务,启动 2020-06-09
- Spring Cloud微服务(一):公共模块的搭建 2020-06-07
- Java生鲜电商平台-微服务生鲜电商系统设计(小程序/APP) 2020-06-04
- 微服务平台技术架构 2020-06-02
IDC资讯: 主机资讯 注册资讯 托管资讯 vps资讯 网站建设
网站运营: 建站经验 策划盈利 搜索优化 网站推广 免费资源
网络编程: Asp.Net编程 Asp编程 Php编程 Xml编程 Access Mssql Mysql 其它
服务器技术: Web服务器 Ftp服务器 Mail服务器 Dns服务器 安全防护
软件技巧: 其它软件 Word Excel Powerpoint Ghost Vista QQ空间 QQ FlashGet 迅雷
网页制作: FrontPages Dreamweaver Javascript css photoshop fireworks Flash
