
2019-07-22 phpStudy配置虚拟主机
2019-07-23 08:44:13来源:博客园 阅读 ()

1.右击 phpStudy ->【打开配置文件】->【vhosts-conf】;
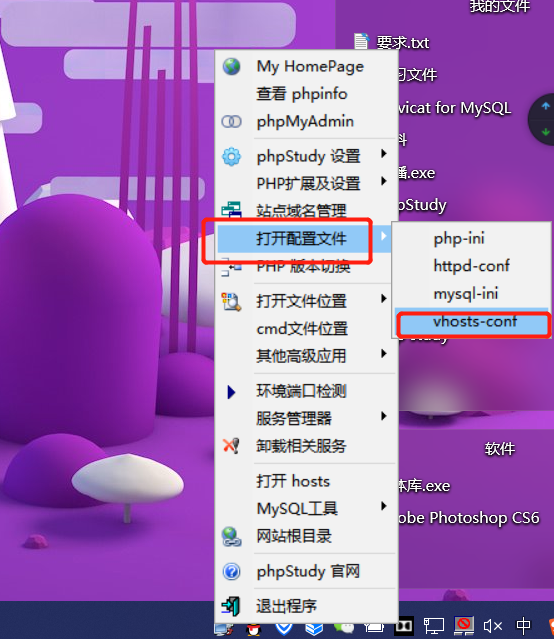
2.在里面加入如下代码,并保存:
NameVirtualHost *:80
<VirtualHost *:80>
 ServerName  www.test.com//你想要显示的域名
 DocumentRoot "d:/test/"//目标文件夹
<Directory "d:/test/"> //目标文件夹
 Options FollowSymLinks IncludesNOEXEC Indexes
 DirectoryIndex index.html index.htm default.htm index.php default.php index.cgi default.cgi index.pl default.pl index.shtml
 AllowOverride Options FileInfo
 Order Deny,Allow
 Allow from all
</Directory>
</VirtualHost>
3.右击 phpStudy ->【打开配置文件】->【httpd-conf】;
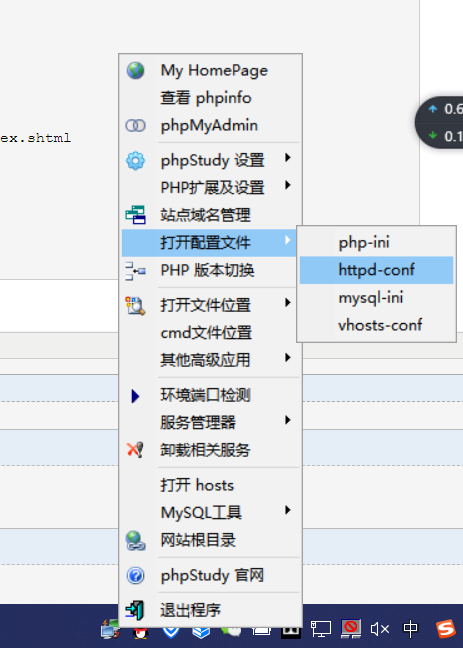
4.打开后 Ctrl+f 搜索vhosts 把该行前面的#号删掉,若已删除,请忽略该步骤。

5.请按照C:\Windows\System32\drivers\etc路径找到hosts文件并打开。
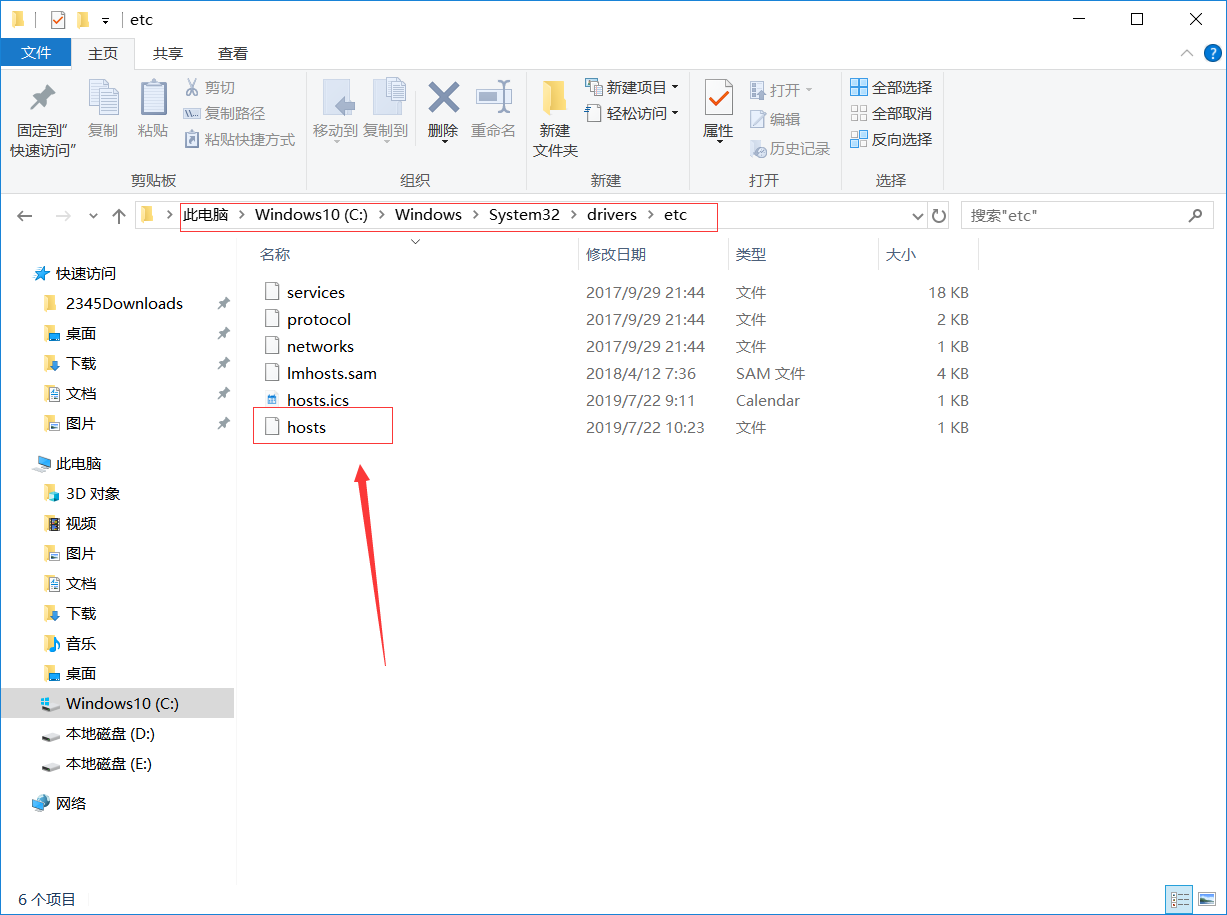
6.在里面加入配置的虚拟域名。

7.重启phpstudy即可。
注意:若无法对hosts文件进行修改,请右击hosts,选择属性,安全,把所有用户的权限都勾选即可修改。

phpstudy 下载地址:链接:https://share.weiyun.com/569s2FW 密码:yd5rjp
原文链接:https://www.cnblogs.com/zhangxu-fasu/p/11227930.html
如有疑问请与原作者联系
标签:
版权申明:本站文章部分自网络,如有侵权,请联系:west999com@outlook.com
特别注意:本站所有转载文章言论不代表本站观点,本站所提供的摄影照片,插画,设计作品,如需使用,请与原作者联系,版权归原作者所有

下一篇:Php教学视频-共300G
- php中动态修改ini配置 2020-03-13
- PHP中APC缓存配置及使用详解 2020-03-04
- phpStudy2016 配置多个域名期间遇到的问题小结 2019-12-29
- phpStudy配置多站点多域名方法及遇到的403错误解决方法 2019-12-26
- phpstudy的php版本自由修改的方法 2019-12-26
IDC资讯: 主机资讯 注册资讯 托管资讯 vps资讯 网站建设
网站运营: 建站经验 策划盈利 搜索优化 网站推广 免费资源
网络编程: Asp.Net编程 Asp编程 Php编程 Xml编程 Access Mssql Mysql 其它
服务器技术: Web服务器 Ftp服务器 Mail服务器 Dns服务器 安全防护
软件技巧: 其它软件 Word Excel Powerpoint Ghost Vista QQ空间 QQ FlashGet 迅雷
网页制作: FrontPages Dreamweaver Javascript css photoshop fireworks Flash
